Why pay salon prices when the right tools can give you a cleaner, glossier manicure at home?
A salon-quality finish isn’t about owning dozens of products-it’s about choosing precise, reliable tools that shape, prep, polish, and protect your nails properly.
From glass files and cuticle pushers to LED lamps, nail buffers, and cleanup brushes, the best at-home manicure tools help prevent chips, smudges, uneven edges, and rushed-looking results.
This guide breaks down the essentials worth buying, so you can build a practical nail kit that delivers polished, long-lasting results without the appointment.
Essential At-Home Manicure Tools: What You Need and Why Each One Matters
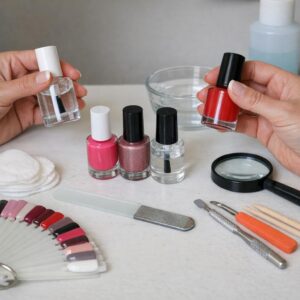
A good at-home manicure starts with the right nail care tools, not just pretty polish. The basics should include a quality nail clipper, glass nail file, buffer block, cuticle pusher, cuticle nipper, base coat, top coat, and a nourishing cuticle oil. These tools help shape the nail, smooth rough edges, protect the nail plate, and make polish last longer.
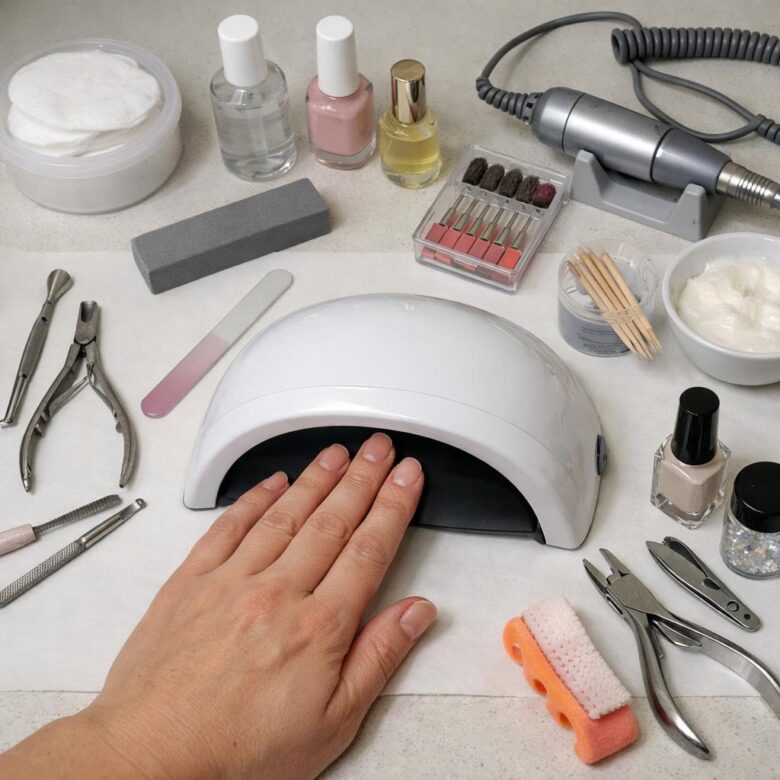
If you use gel polish, a reliable UV/LED nail lamp is worth the cost because curing time and lamp strength directly affect wear. For example, a thin gel layer cured under a trusted lamp like the SUNUV UV LED Nail Lamp is far less likely to wrinkle or peel than polish applied too thickly under a weak device. This is one area where buying the cheapest option can lead to wasted product and frustrating results.
- Glass nail file: Seals the nail edge more gently than coarse emery boards, which helps reduce splitting.
- Cuticle pusher and remover: Creates a cleaner polish line without cutting healthy skin unnecessarily.
- Top coat: Adds shine, protects color, and extends the life of regular or gel manicures.
For more advanced maintenance, an electric nail file or nail drill can be useful for removing gel overlays, smoothing ridges, or refining press-on nails. Use it on a low speed if you are new; in real use, most nail damage happens from over-filing rather than from the tool itself. A complete manicure kit saves money over salon visits, but only if each tool is used with patience and proper hygiene.
How to Use Nail Prep, Polish, and Curing Tools for Salon-Quality Results
Start with clean, dry nails before opening any polish. Use a cuticle pusher, fine nail file, and buffer to shape the nail and remove surface shine, then wipe each nail with alcohol or a professional nail dehydrator to help gel polish bond properly.
For gel manicures, thin layers matter more than expensive color. Apply a base coat, cure it under a reliable LED nail lamp such as the MelodySusie UV LED Nail Lamp, then add two thin coats of gel polish, curing each layer according to the brand’s directions.
- Cap the free edge of the nail to reduce chipping.
- Keep polish off the cuticle area to prevent lifting.
- Use a lint-free wipe with cleanser after the top coat if required.
A real-world tip: if your gel peels after two days, the issue is often nail prep, not the polish cost. I’ve seen better wear from mid-priced gel nail kits when the nail plate is properly dehydrated and the cuticle area is kept completely clean.
If you use regular nail polish, skip the curing lamp and focus on a quality base coat, glossy top coat, and drying drops. For anyone comparing at-home manicure tools with salon services, the biggest benefit is control: you can fix chips, refresh shine, and maintain your nails without booking an appointment every time.
Common At-Home Manicure Tool Mistakes That Cause Chips, Lifting, and Uneven Finish
Most at-home manicure problems come from tool misuse, not bad polish. One of the biggest mistakes is filing nails back and forth with a rough emery board, which can split the nail edge and make regular or gel polish chip within days. A fine-grit glass nail file, such as a Tweezerman glass file, gives a cleaner edge and helps your manicure last longer.
Another common issue is skipping proper cuticle prep. If invisible cuticle tissue is left on the nail plate, even a high-quality gel nail kit, base coat, or builder gel can lift near the cuticle line. Use a cuticle pusher gently after softening the area, and avoid cutting living skin unless you are trained to do it safely.
- Over-buffing: Using a coarse buffer or electric nail drill too aggressively can thin the nail, causing peeling and weak adhesion.
- Poor cleaning: Hand lotion, oil, or dust left behind can stop polish from bonding; wipe nails with alcohol or nail dehydrator before applying product.
- Wrong curing: A UV LED nail lamp that is too weak or incompatible with your gel polish can leave layers under-cured and prone to lifting.
A real-world example: if your gel manicure peels off in one sheet after two days, the problem is often oily nail plates or under-curing, not necessarily the polish brand. For salon-quality results at home, match your tools to the product system, keep layers thin, and clean every nail thoroughly before color application.
Expert Verdict on Best At-Home Manicure Tools for Salon-Quality Results
A salon-quality manicure at home comes down to choosing tools that match your routine, skill level, and nail goals. Start with reliable essentials-a clean file, cuticle care, precision clippers, and a quality top coat-then add extras like gel lamps or electric files only if they genuinely improve your results.
The smartest approach is to buy fewer, better tools and maintain them well. With the right setup, you’ll save time, reduce salon visits, and get polished, long-lasting nails without overcomplicating your routine.

Dr. Claire Whitmore is a nail care educator and beauty researcher focused on healthy nail routines, elegant manicure techniques, and coastal-inspired nail artistry. Her work combines practical beauty guidance with refined, everyday nail care.